Ad creation

Choice of the advertisement type
In advance, you need to decide what type of campaign, what ad network and what type of advertising you want to create. This table can help you decide and choose.
| Campaign type | Network type | Ad format |
| Search campaign | Search network | Text ads |
| Display campaign | Display network | Banner, Combined ad, Branding |
| Product campaign | Display network | Dynamic retargeting, Dynamic banner, Seznam shopping (product offer from XML feed) |
| Video campaign | Display network | Bumper, Videospot |
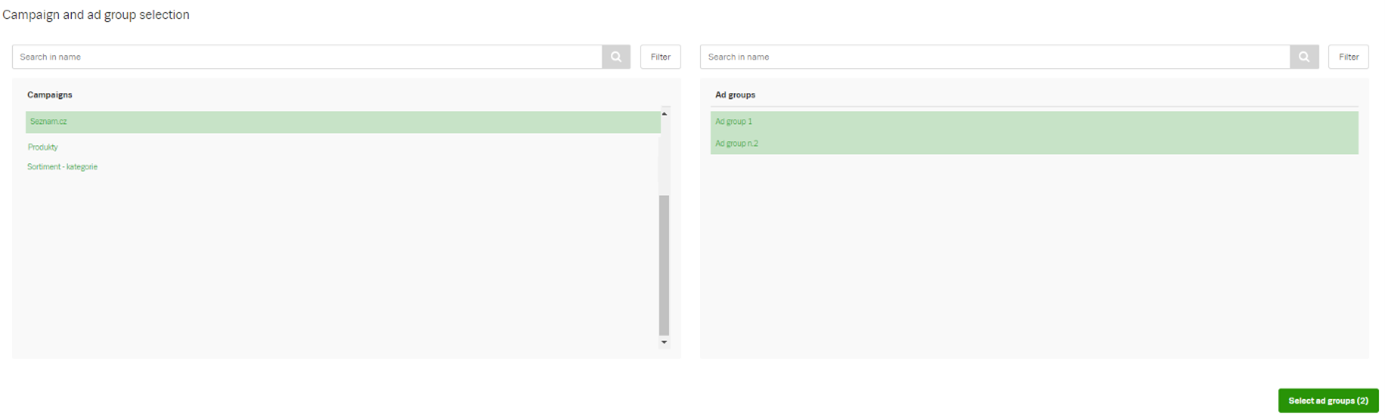
- Select the Campaign and Ad group in which the ad should be placed. If you are creating an ad directly in an existing campaign, this step is skipped.
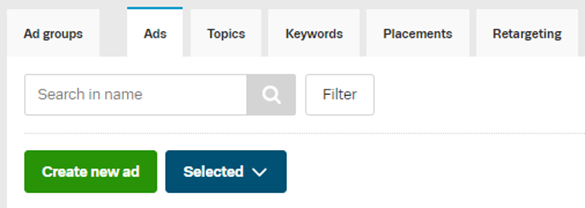
- To create a new ad, first click on the Create new ad button.
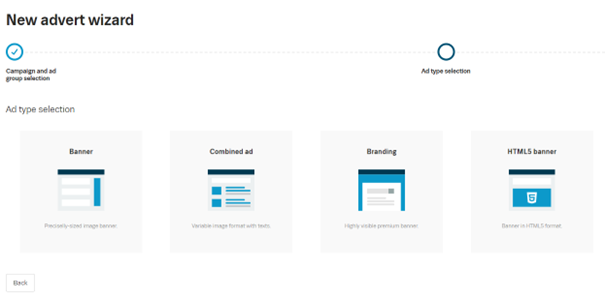
- Select which type of ad you want to create and proceed to the next step
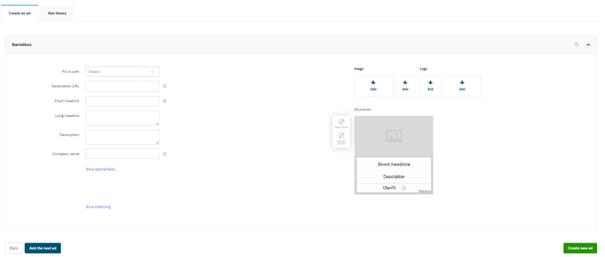
- Fill out the form to create a specific ad type and save.
When creating ads, remember the common advertising rules and their technical specifications.
Ads library
The ad library makes it easy to create ads. It contains ads from your entire account, sorted by creation date from the most recent. You can easily reuse recently created ads elsewhere in your account.
How it works
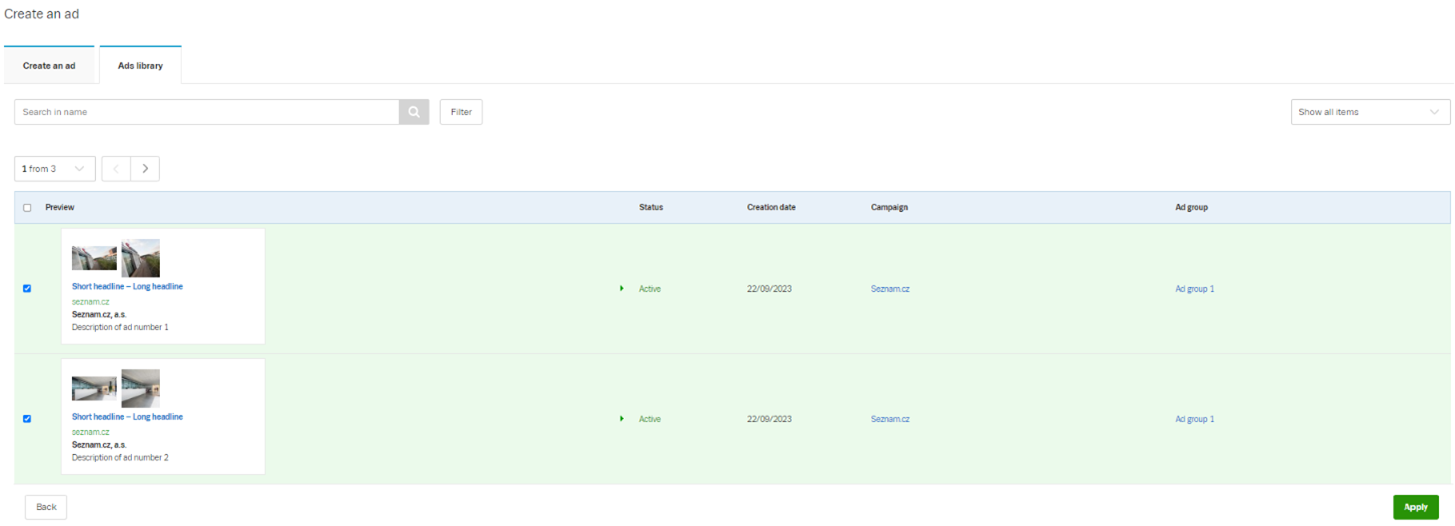
- When creating an ad, go to the Ad Library tab.
- Select the required ads. You can use the filter to make your search easier.
- Confirm your selection by clicking the Apply button.
- The ads are loaded into the forms, and you can now edit and save them.
Please note that it is not possible to insert the same Ads in the Ad group. If the system reports that the same ad already exists in the ad group, you must modify the newly inserted ad.
How to add ads in bulk
If you want to insert multiple ads into one ad group via the web interface, just add another form by clicking on the button when creating the ad.

In addition, it is possible to insert multiple ads into multiple ad groups in one campaign at the same time. Just select multiple ad groups in the first step. You can use the SHIFT key to select multiple items.
Scheduling of ads
For each ad, you can set a start date and a pause date.
This is useful for running promotional ads – Christmas texts, Black Friday, post-Christmas promotions and other sales. This is within existing campaigns, so no need to create new campaigns that start with zero stats and no history collected.
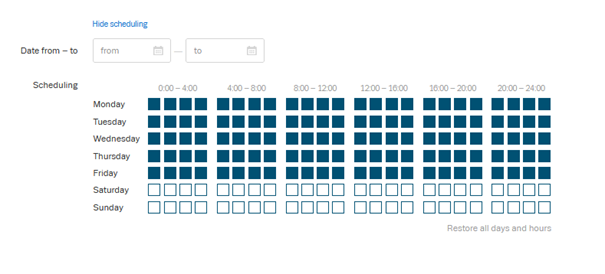
As with campaigns, you can set the days or hours when you want to display which ads. For example, in ads that run in the evening you can emphasize non-stop support, in ads that run on the weekend you can emphasize that your restaurant is open on the weekend.
The scheduling can be found in the ad editor.
Campaign end date – This is the date when the ad will stop being published.
The behaviour is the same as setting the end date at the campaign level.
With this icon, you can copy the set date and scheduling to all ads you are editing.
Notification: For technical reasons, it is currently not possible to set a start date prior to the campaign pause date from – to.
Example:
How can you make, for example, weekend specials run at midnight on Saturday and turn off at midnight on Monday, and at the same time make regular ads pause at the same time and run again after the specials without having to manually edit them at midnight or change settings during the weekend?
You can solve it like this:
- You can set the start and end date for your promotional ads in the usual way.
- For regular ads on a weekday before the weekend, turn off Saturday and Sunday display. In the week after the weekend event, be sure to enable display on all days of the week again.